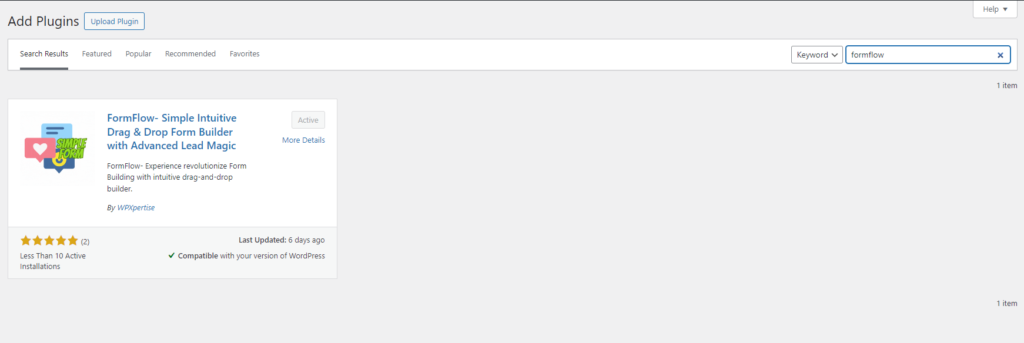
Step 1: Install and Activate FormFlow Plugin and Contact Form 7 (CF7) #
First things first, head over to your WordPress dashboard and navigate to the Plugins section. Search for “FormFlow” and install the plugin. Once installed, activate it to unlock its full functionality.
Same to install simply search for “Contact Form 7” and install the plugin or you can installed direct from CF7 tab from the FormFlow Plugin. Once installed, activate it to unlock its full functionality.

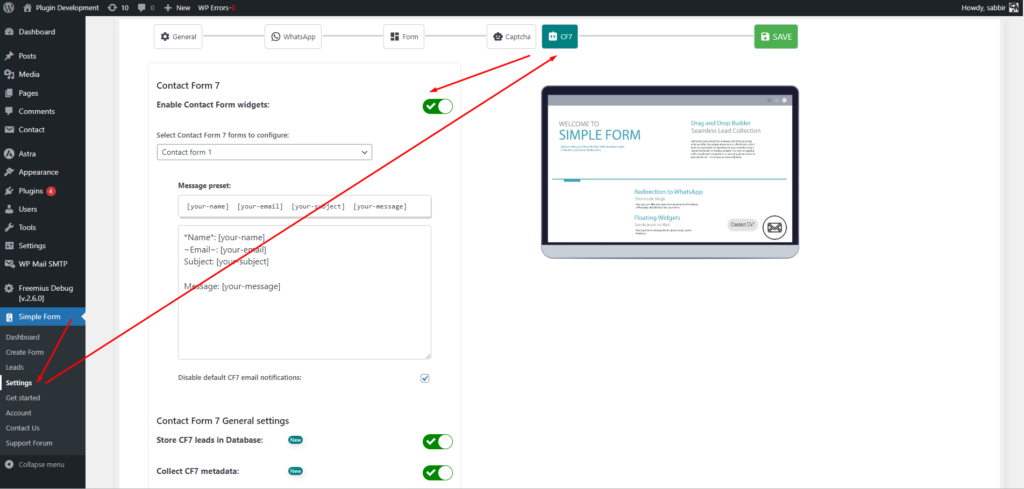
Step 2: Configure CF7 Forms #
With the FormFlow plugin activated, it’s time to configure your CF7 forms. Go to the settings page and locate the CF7 tab. Here, you can customize your forms according to your preferences, including field options, styling, and validation settings.
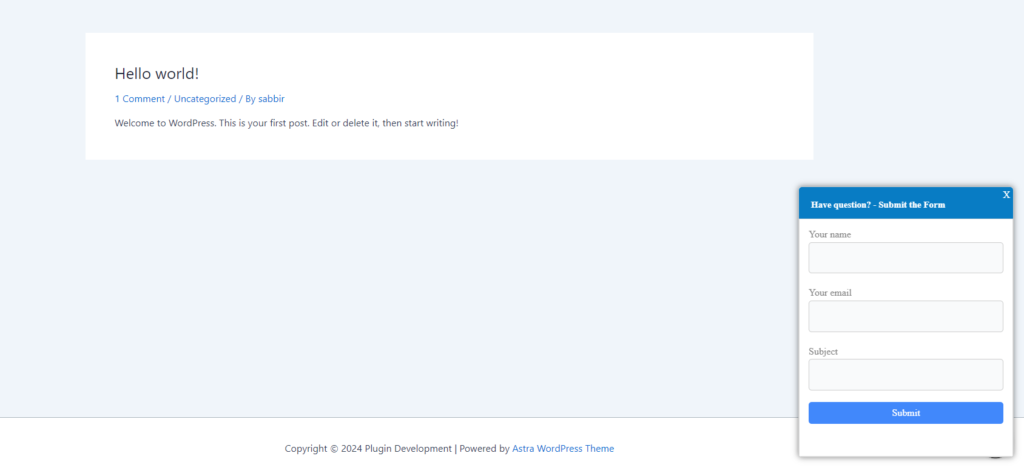
Step 3: Enable Floating Widgets #
Now, head to the General tab within the FormFlow settings. Look for the option to “Enable Contact Forms 7 as floating widgets” and toggle it on. This will activate the floating widget feature for CF7 forms on your website.
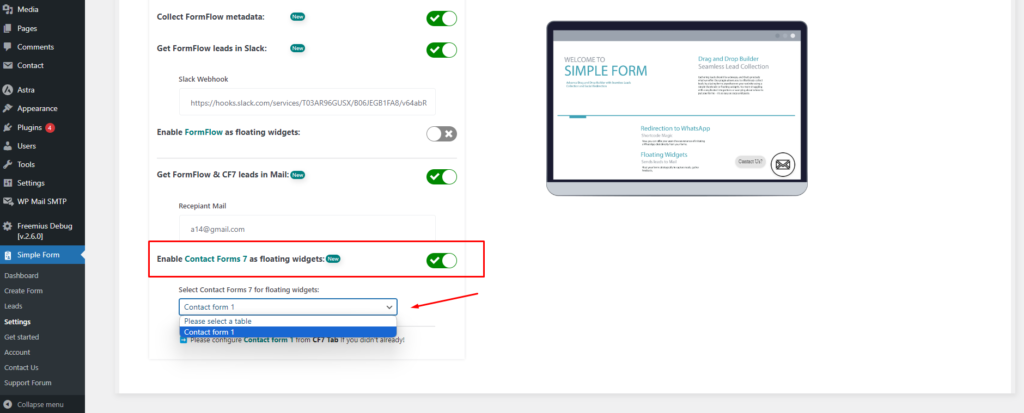
Step 4: Select Forms to Display #
Once the floating widgets feature is enabled, you’ll need to select which CF7 forms you want to display as floating widgets. Choose the forms you want to make available in this format, ensuring they align with your website’s objectives and user engagement strategy.
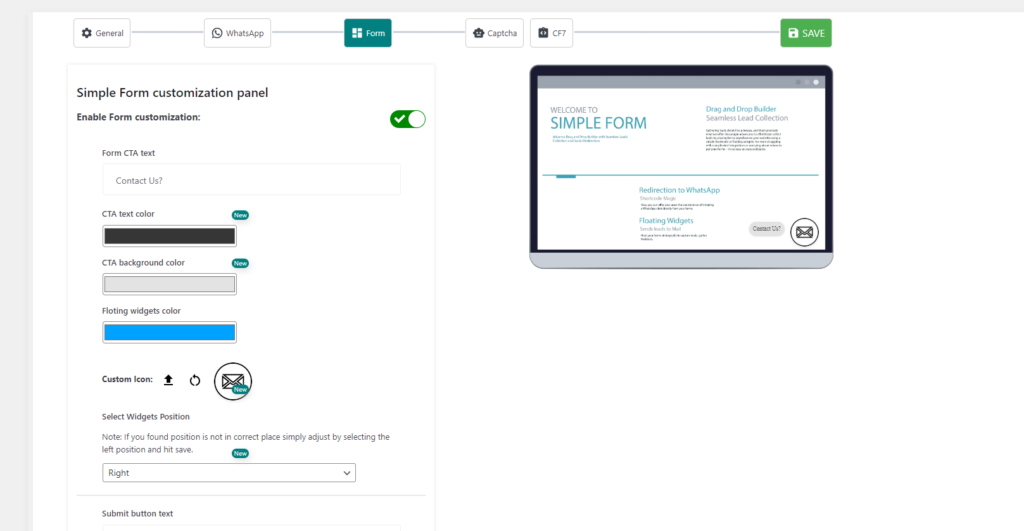
Step 5: Customize Floating Widget Settings #
FormFlow offers extensive customization options for floating widgets. You can adjust the positioning, appearance, and behavior of the widgets to ensure they seamlessly integrate with your website’s design and enhance the user experience.
By following these steps, you can leverage the FormFlow plugin to transform your CF7 forms into eye-catching floating widgets that captivate your audience and drive conversions.
Take your user engagement to the next level with this innovative solution and unlock the full potential of your WordPress website.


0 comments